Controlling glow/specular intensity (Diffuse texture)
Posted: Thu Feb 14, 2013 2:06 pm
Here's a quick tutorial on a useful trick I discovered while texturing battle droids.
Basically you will be able to control the intesity of specular/glow with a diffuse texture.
This tutorial can be used for both glow and specular.
1. (Specular only) Open up your model and change the 6th place after ATRB to 04.
1. (Glow only) Open up your model and change the 5th place after ATRB to 03.
2. Open up your models tga with GIMP and select: layer/transparency/add alpha channel
3. At this point your specular is at full intensity, to change this click on the eraser tool and you will see an option at the bottom that says "opacity". This determines the strength of the opacity.
31/2. Now make sure that the opacity is lower than 100% or your object will appear black in game. Now you will erase over the whole image. Your image should be visible (sometimes more than other times).
4. Save as with RLE compression un-checked.
Explained: When your done erasing the image should be transparent but still visible, when its less visible the specular intensity will be lower, when its completely visible the specular intensity will be at its max. So the higher the eraser opacity the lower the specular intensity, and the lower the eraser opacity the higher the specular intensity.
Note: You don't need to erase the whole image, so if you wanted to make an object have one spot shine more than others, erase the spots that are going to be less shiny (example [make sure you backup your original texture and never erase with opacity at 100%])
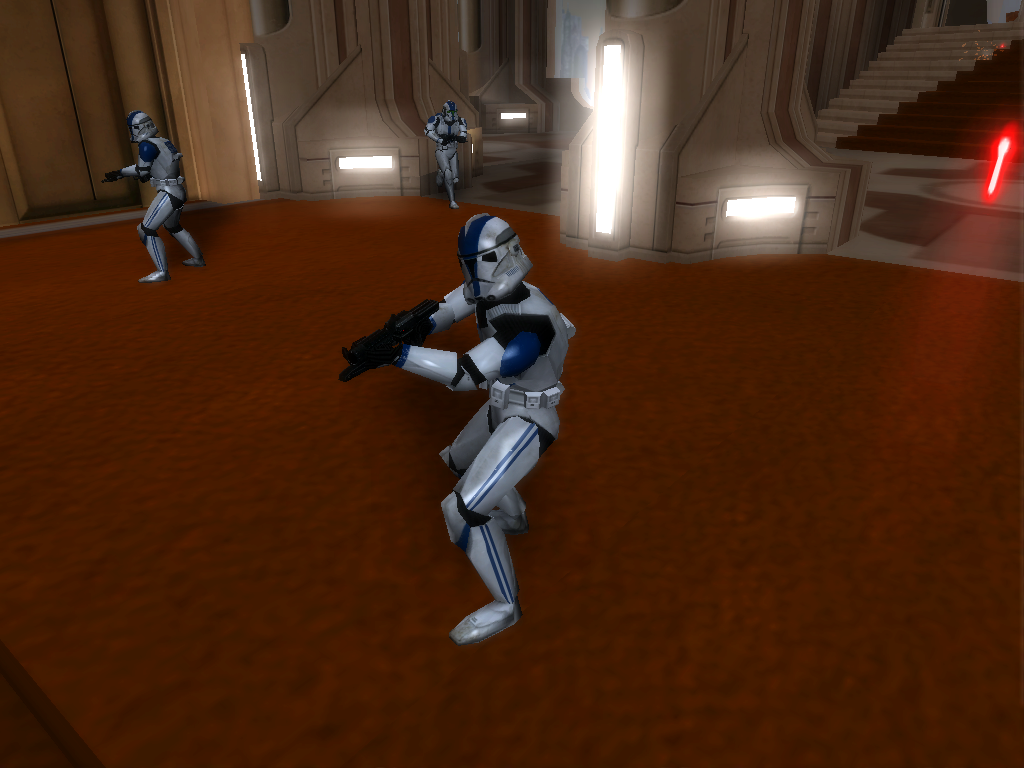
Here's an example (the visor, under armor, and feet are at basically erased completely so they don't shine):
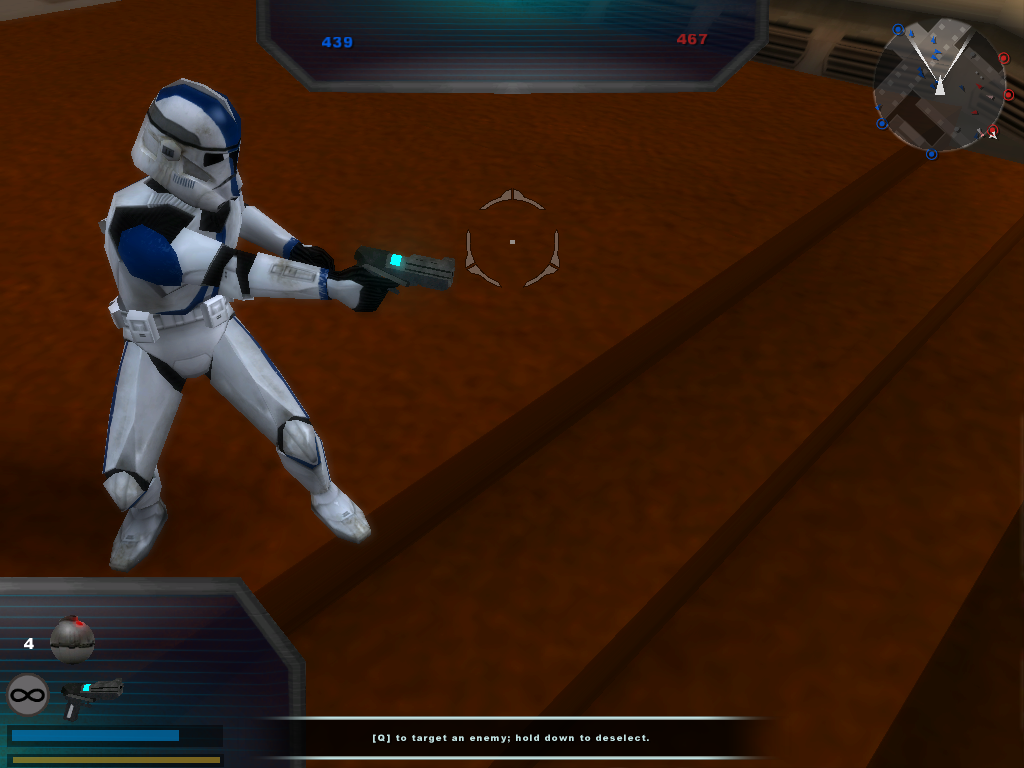
Glow example (pistol):
Basically you will be able to control the intesity of specular/glow with a diffuse texture.
This tutorial can be used for both glow and specular.
1. (Specular only) Open up your model and change the 6th place after ATRB to 04.
1. (Glow only) Open up your model and change the 5th place after ATRB to 03.
2. Open up your models tga with GIMP and select: layer/transparency/add alpha channel
3. At this point your specular is at full intensity, to change this click on the eraser tool and you will see an option at the bottom that says "opacity". This determines the strength of the opacity.
31/2. Now make sure that the opacity is lower than 100% or your object will appear black in game. Now you will erase over the whole image. Your image should be visible (sometimes more than other times).
4. Save as with RLE compression un-checked.
Explained: When your done erasing the image should be transparent but still visible, when its less visible the specular intensity will be lower, when its completely visible the specular intensity will be at its max. So the higher the eraser opacity the lower the specular intensity, and the lower the eraser opacity the higher the specular intensity.
Note: You don't need to erase the whole image, so if you wanted to make an object have one spot shine more than others, erase the spots that are going to be less shiny (example [make sure you backup your original texture and never erase with opacity at 100%])
Here's an example (the visor, under armor, and feet are at basically erased completely so they don't shine):
Hidden/Spoiler:
Hidden/Spoiler: